I had every intent of blogging this tutorial for Christmas, but, as usual, time got away from me. This project will have a Valentine's Day spin on it because we are in February (note the first picture shown). However, the step-by-step tutorial will feature the Christmas items used in other versions of the project. The beauty of these candles are that they can be used all year long. Simply empty out the candle base and fill it with something to match the season. It's really that easy.
.jpg) |
| Conversation heart candy votive candles |
|
This the candle inspiration used in the DIY tutorial. Notice that the view changes when you spin the candle around:
 |
| Christmas Tealight Holder - view one |
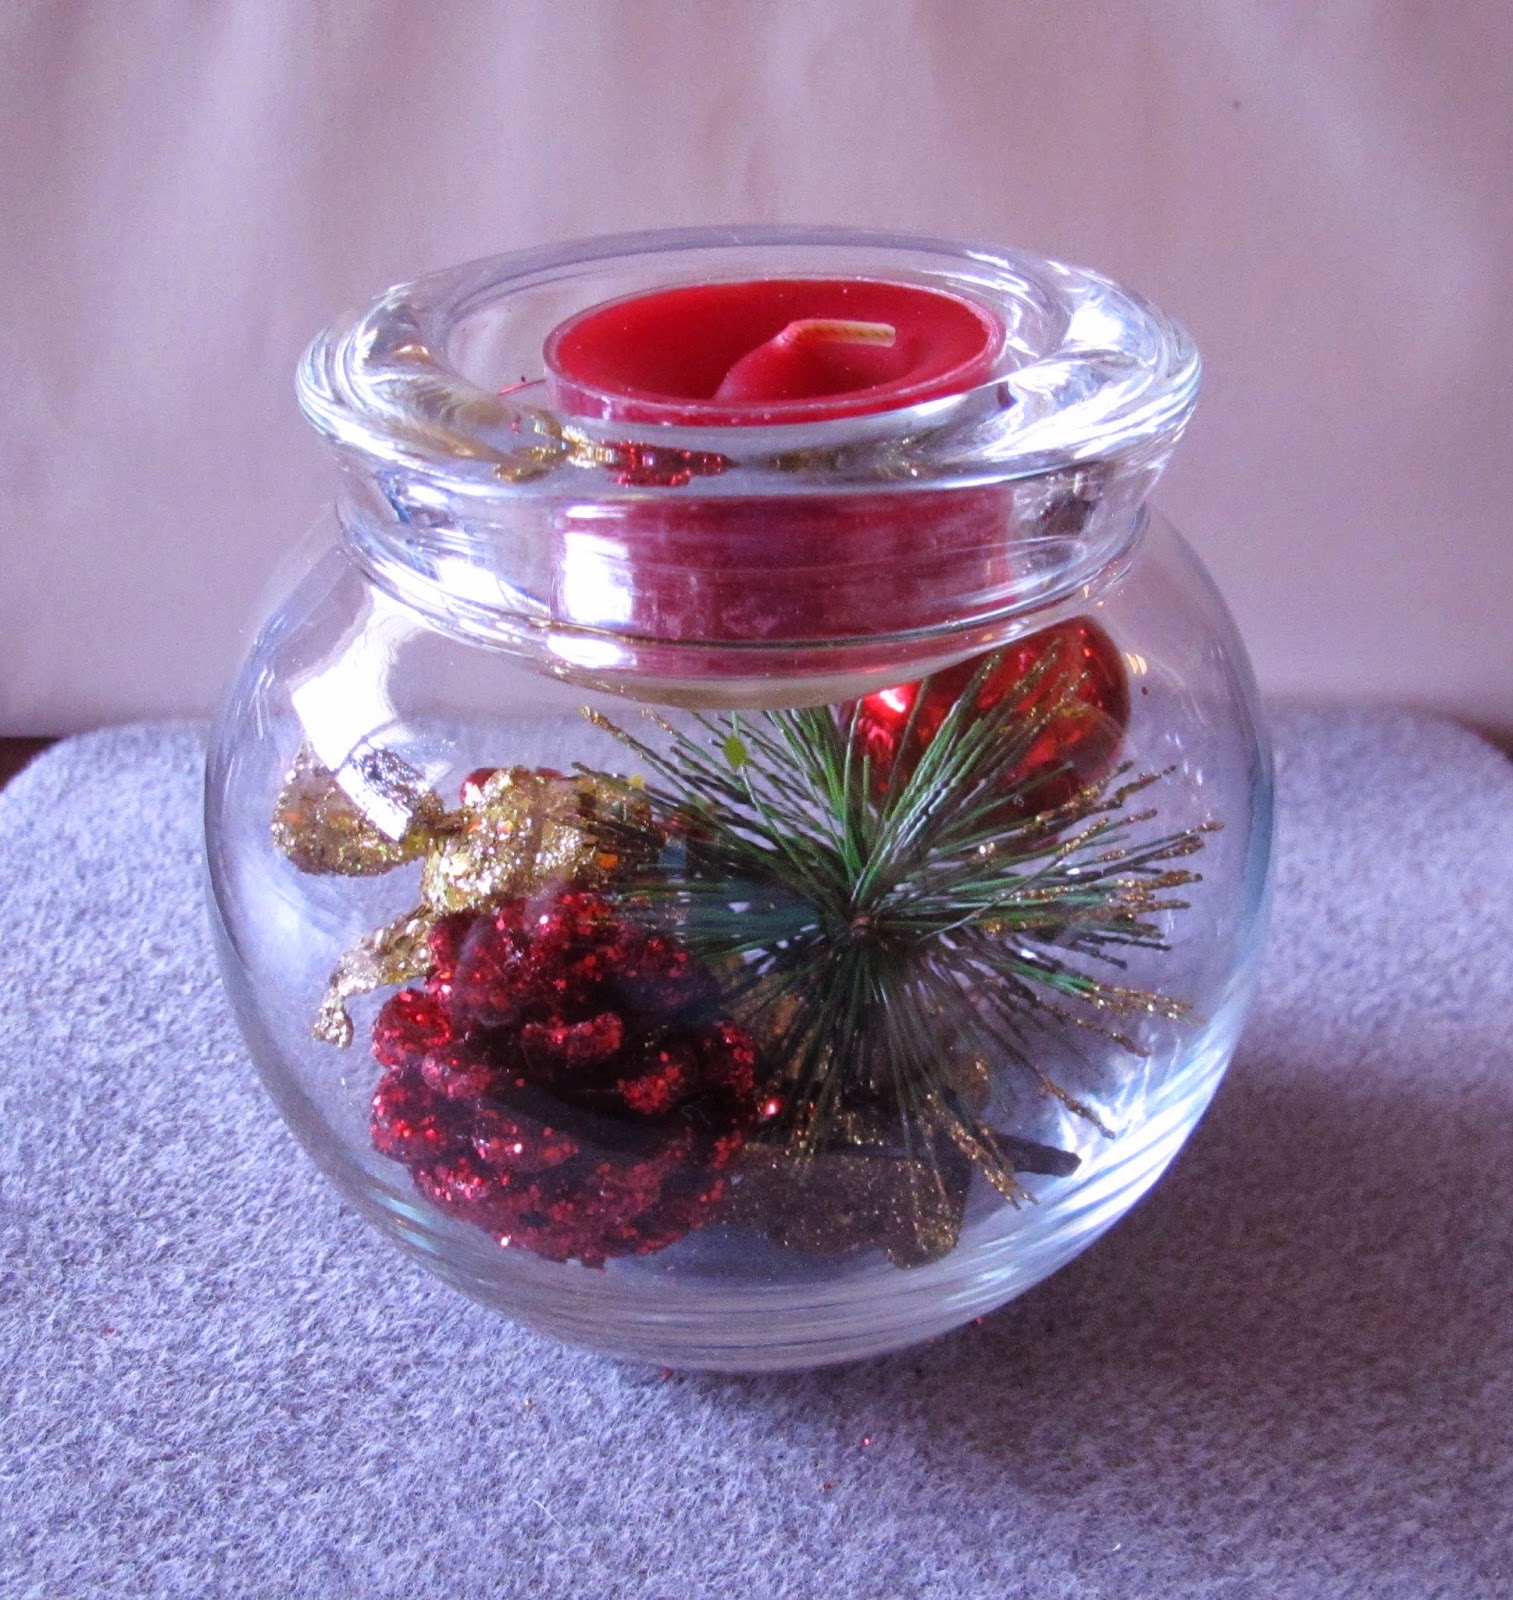 |
| Christmas Tealight Holder - view two |
|
|
|
Without further ado, here are the instructions to make your own holiday tealight candle holder.
Supplies:
Bubble candle holder
Tealight candle holder
Tealight candle
Decorative contents for inside of the candle holder base. I used Christmas picks and sprigs for the tutorial, but you can use other things that appeal to you (such as mini light bulbs, conversation heart candies, pearls, lace, tinsel, silk flowers and other small items).
Wire cutters/pliers (for trimming sprigs)
Instructions:
1) Make sure the tealight holder fits nicely on top of the bubble candle holder. It should slip into place without falling inside.
2) Set the tealight holder aside. Pick up the desired sprig, and cut off a small piece. Set it inside of the bubble candle holder. Keep going until you have an eye-appealing arrangement inside of your candle holder. When you are done arranging, set your tealight holder on top of the candle holder and that's it - you are done!
.jpg) |
| The completed candle holders! Aren't they awesome? | |
|
I made and gave away several of these tealight holders for Christmas. People really loved them. Here are some other candle holders I made for some added inspiration:
These feature mini lightbulb ornaments. I bought a little package of them at the dollar store:
 |
| Mini light bulb ornaments candle holders. |
 |
| Mini light bulb ornaments candle holders. |
.jpg) |
| The little package of bulbs I purchased from the dollar store. | | |
|
You can use the basic concept of this project with other shapes and sizes of candle holders. I purchased this set of holders from PartyLite and filled them with pearls, shiny plastic hearts and stems of mini roses for my Valentine's Day decor:
And here are the same set of candle holders with a blue Christmas spin on them. I used tinsel and mini star and metallic ball ornaments to fill the bases of the candle holders:
The possibilities for filling these with all sorts of goodies are endless. If you feel inclined, please send me pictures of your own versions of these candles. I'd love to see what you come up with!




.jpg)
.jpg)
.jpg)
.jpg)
.jpg)
.jpg)
.jpg)